how-to
How to Choose Permanent Outdoor Lights That Resist Weather
Editorial Team · Nov 22, 2026 · 12 min read
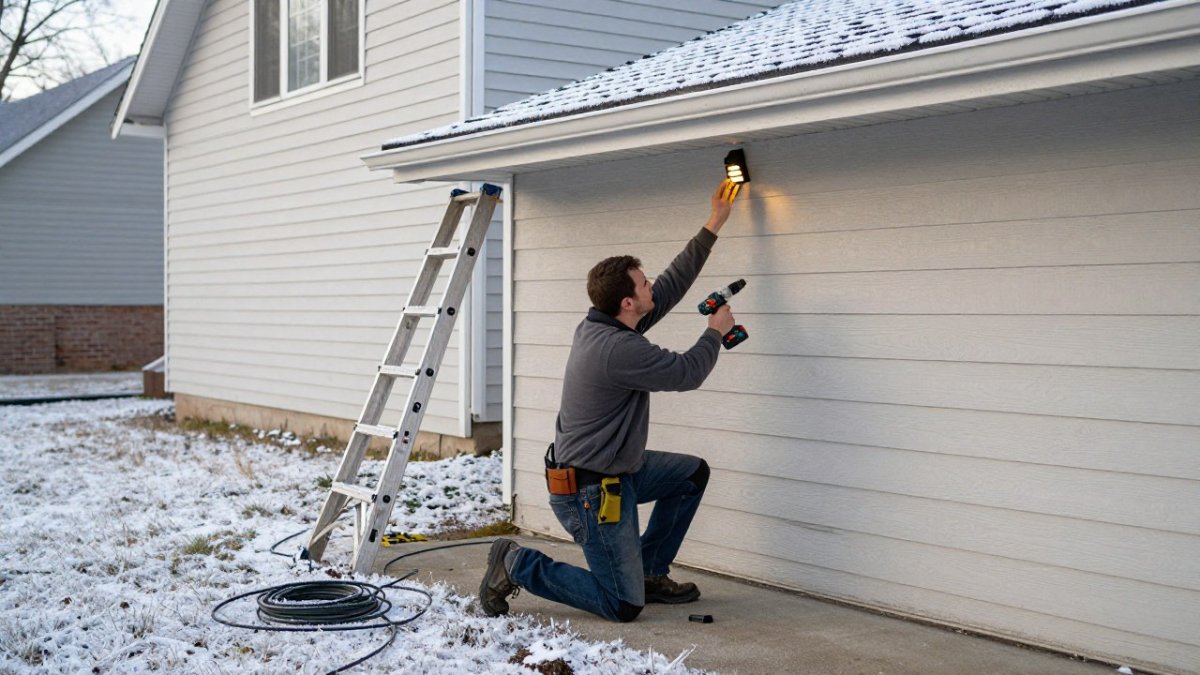
Last Updated: November 21, 2026
Quick Summary
Permanent outdoor lights are weather resistant only when every component is sealed, not just the fixture. Water usually enters at connectors, the control box, or an unsealed mounting point, so check the IP rating of each part and install joints facing down with drip loops.
- An IP rating's first digit covers dust; 5 means dust protected and 6 means dust tight.
- A system with IP67 lights but unrated connectors is not an IP67 system.
- Mount power supplies in a protected spot, never face-up where snow sits on them.
- Drill every entry hole facing down and seal each penetration with exterior-grade sealant.
- Outdoors, the National Electrical Code requires GFCI protection for receptacles.
Table of Contents
- What Weather Resistance Really Means for Permanent Outdoor Lights
- How to Read a Permanent Outdoor Lights IP Rating
- Water-Resistant, Splash-Proof, and Waterproof: What the Labels Actually Mean
- How to Pick the Best Permanent Outdoor Lights for House Exteriors
- Protecting the Power Supply, Control Box, and Connectors
- Installation Steps That Keep Water Out
- Permanent Outdoor Lights Lifespan: What Weather Does to the Clock
- Permanent Outdoor Lights Maintenance and Storm Checks
- Frequently Asked Questions
What Weather Resistance Really Means for Permanent Outdoor Lights
Weather resistance is the ability of a lighting system to keep working through rain, snow, heat, and sun without water reaching the parts that carry current. For a roof-mounted system, that protection has to hold at every joint, not just at the fixture.
The LED itself rarely fails first. Water gets in at the connectors, the control box, or an unsealed mounting point, and the failure shows up months later. So whether permanent outdoor lights are weather resistant depends far more on the installation than on the box.
Below, we break down ratings, component protection, and the installation habits that decide whether a system lasts.
How to Read a Permanent Outdoor Lights IP Rating
A permanent outdoor lights IP rating is a two-digit code that states how well a housing blocks dust and water. The letters "IP" stand for ingress protection, and the numbers follow a fixed scale defined in IEC 60529, the international standard for enclosure ratings. The first digit covers solids; the second covers water.
A common mistake is reading only the second digit. Dust matters too. Fine grit works into a connector over a few seasons and can bridge contacts or trap moisture against them.
The First Digit: Solids and Dust
The first digit runs from 0 to 6. A rating of 5 means dust protected; 6 means dust tight. For a roofline fixture, anything below 5 leaves room for grit to accumulate inside the housing.
The Second Digit: Water Exposure
This is the digit buyers focus on, and the one most often misread.
- IPX4 handles splashing water from any direction.
- IPX5 handles low-pressure water jets.
- IPX6 handles powerful jets.
- IPX7 survives temporary immersion.
Note what is missing: none of these ratings test for melting snow sitting on a fixture for days, or for ice expanding inside a seam. Ratings describe lab conditions, not a Michigan February.
Apply the Rating Component by Component
The rating on the box usually describes the light fixture alone. A system is only as weather resistant as its weakest component, so ask for the IP rating of each part:
- Light fixtures or strip: Often rated IP65 or higher. Look for a stated number, not just "waterproof."
- Connectors and joints: These are the most common failure point. Factory-sealed connectors may carry their own IP rating; field splices usually carry none. If the manufacturer does not state a connector rating, assume water can reach the contacts.
- Power supply (driver): The driver is often mounted indoors or in a protected enclosure. If it is rated for outdoor use, it should carry an IP rating and be mounted where water cannot pool on it. Many drivers are rated IP67 but still fail when mounted face-up.
- Controller or control box: Look for a gasketed enclosure with downward-facing cable entries. A controller rated IP65 in a box with upward-facing holes is effectively unprotected.
A system where the lights are IP67 but the connectors are unrated is not an IP67 system. When you evaluate a product, ask the manufacturer to state the rating for each component in writing. If they cannot, treat the claim as marketing language.
Watch out: A high IP rating on the fixture does not extend to the connection points. Water often enters at the joint, not the lens.
Water-Resistant, Splash-Proof, and Waterproof: What the Labels Actually Mean
These three words are not interchangeable, and no regulator enforces them the way it enforces an IP number. Water-resistant means the product tolerates some moisture without failing immediately. Splash-proof means it handles splashes but not jets or pooling water. Waterproof implies full protection, and it is the label most loosely used.
Here is how we would read a claim on a box:
| Label | What it usually means | Where it falls short |
|---|---|---|
| Water-resistant | Light moisture, brief rain | Standing water, jets, freeze-thaw |
| Splash-proof | Splashes from any angle | Directed jets, pooled water |
| Waterproof | Sealed against water ingress | Vague unless paired with an IP number |
| IP65 or higher | Dust tight, jet resistant | Still depends on sealed connectors |
Treat any label without an IP number as marketing language until the manufacturer states the rating in writing.
How to Pick the Best Permanent Outdoor Lights for House Exteriors
The best permanent outdoor lights for house exteriors combine a stated IP rating, sealed connectors, a protected power supply, and a mounting system that keeps water moving away from the fixture. Start with the rating, then inspect the joints, then look at how the system handles your local winters.
Two fixture styles are common, and the choice affects sealing. Puck lighting places individual points under the soffit, each with its own housing and connection. LED strip runs in a concealed track along the roofline as one continuous line.
If you want to see how each style reads on an actual roof, you can explore how permanent architectural lighting is installed and controlled, compare puck lighting details, or review LED strip lighting for rooflines. When you are ready to judge it on your own house, preview puck and strip lighting on a photo of your home.
Protecting the Power Supply, Control Box, and Connectors
The power supply and controller are where most weather-related failures begin, because they are the components with the most entry points. A fixture can be perfectly sealed and still fail if the driver sits in a spot where water collects.
The key things to look for are three. First, the power supply should be mounted in a protected location, not face-up on a roof where snow sits on it. Second, every connection should be a sealed, factory-made joint rather than a field splice with a wire nut. Third, the control box should have its own gasketed enclosure with cable entries pointing down.
Watch out: a driver mounted low on a wall with entry holes facing up can fill with meltwater and fail.
Installation Steps That Keep Water Out
Water ingress prevention comes down to gravity and sealing, applied in the right order. These are the steps that matter most:
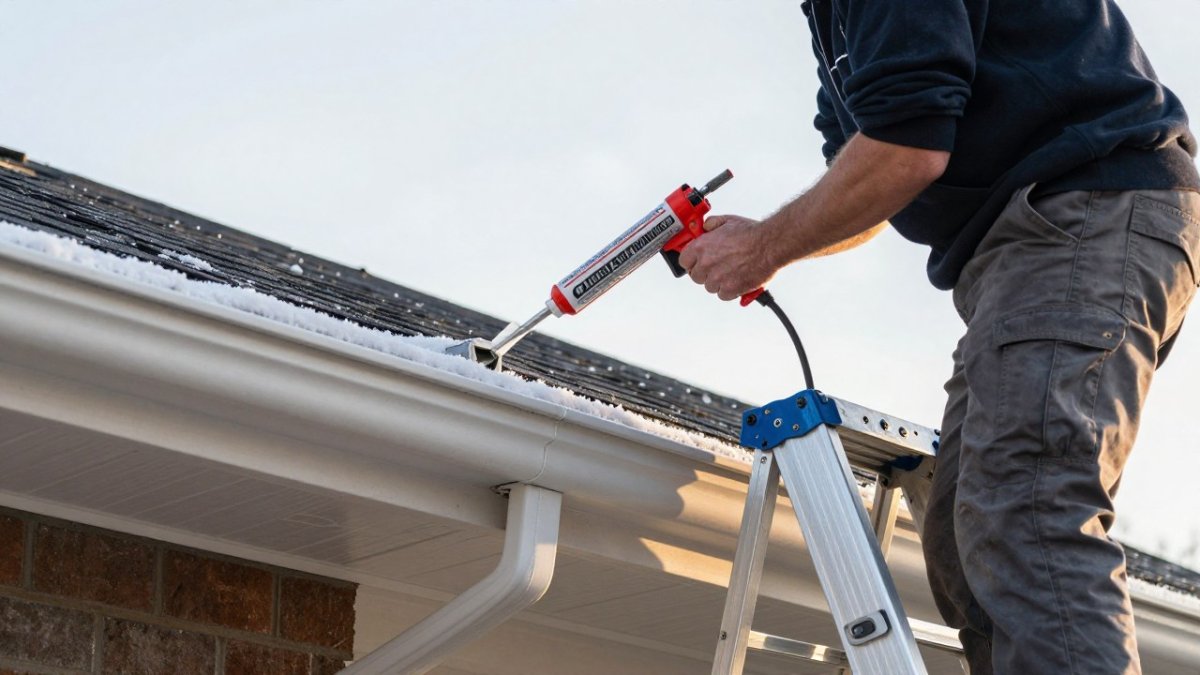
- Plan the low point. Route runs so any water that enters can drain out rather than pool against a connector.
- Drill entry holes facing down. Every hole through siding or soffit should shed water, never catch it.
- Seal each penetration. Use exterior-grade sealant around every cable entry, not just the fixture mount.
- Keep connections off the roof surface. Clip joints above standing water and snow line.
- Leave a drip loop. A short sag before each connection stops water from tracking along the cable into the joint.
- Test before closing up. Run the system, then check every joint by hand for slack or gaps.
Electrical Safety Outdoors
Water resistance is only half the job. The electrical side matters just as much, and it is where many installations fall short.
- Use a GFCI-protected outlet. Outdoors, the National Electrical Code requires ground-fault circuit interrupter protection for receptacles. A GFCI cuts power when current leaks to ground, which can happen when water reaches a connection. If your outdoor outlet is not GFCI-protected, have an electrician upgrade it.
- Match cords to the environment. Use extension cords rated for outdoor use and sized for the load. A cord that is too light for the run can overheat, and an indoor-only cord jacket can crack in cold weather.
- Keep plugs and adapters dry. Even an outdoor-rated plug should not sit in a puddle. Mount power supplies and adapters above grade, under a cover, or inside a weatherproof enclosure with the cord exiting downward.
- Know when to call an electrician. If you need a new outdoor circuit, a receptacle in a wet location, or a hardwired connection for the power supply, that is licensed electrical work in most jurisdictions. Do not run line voltage through a sealed joint you made yourself.
A system that keeps water out of the fixtures but plugs into a non-GFCI outlet in a wet spot is not a safe installation. Treat the electrical path and the water path as one problem.
Watch out: A drip loop that gets pulled tight during a later repair stops working. Recheck loops after any service visit.
Permanent Outdoor Lights Lifespan: What Weather Does to the Clock
A permanent outdoor lights lifespan is set by heat and moisture more than by hours of use. LED emitters themselves last a long time, but drivers, connectors, and seals age faster under thermal cycling: warm days, cold nights, expansion and contraction, repeat.
Sun exposure adds UV degradation to plastic housings and cable jackets. Freezing temperatures stress any seal that trapped moisture. This is why a system rated for the job and installed with sealed joints will outlast an identical fixture installed loosely.
Ask any installer two questions: what IP rating applies to the connectors and driver, not just the lights, and what the warranty says about water damage specifically.
Permanent Outdoor Lights Maintenance and Storm Checks
Permanent outdoor lights maintenance is mostly inspection, and it takes minutes if you know where to look. After any significant storm, walk the roofline visually and check the control box and power supply for standing water or loose cable.
- Look for water staining or mineral trails below a fixture
- Check that drip loops are still hanging, not pulled tight
- Confirm the control box door and gaskets are seated
- Clear snow and ice from the power supply enclosure
- Note any section that flickers or dims, which often signals a wet connector
If a run fails after a storm, the connector is the first suspect, not the LED. Dry it, reseal it, and retest before replacing hardware.
Weather will find the weakest joint in any roofline system, and the difference between a decade of service and a string of failures usually comes down to sealing and component protection. At Curb Appeal Permanent Lights, we install concealed puck and LED strip systems with app-controlled colors and schedules, and we help you preview the design on your own home before anything goes up. Request your estimate and we will walk your roofline with weather protection in mind.
Frequently Asked Questions
What IP rating should permanent outdoor lights have?
Look for at least IP65 on the light fixtures, which means they are dust-tight and protected against water jets. For the power supply and control box, IP67 is a safer target because those components sit lower and face standing water and snowmelt. An IP44 rating only covers splashes and is too weak for year-round roof exposure. Check the rating on every component, not just the lights, since a single unprotected connector can fail and take the whole run down.
How long will permanent outdoor lights last?
Quality LED systems typically carry rated lifespans in the tens of thousands of hours, which works out to many years of nightly use. The LEDs themselves usually outlast the surrounding hardware, so the practical lifespan depends on the power supply, connectors, and seals. In cold, wet climates, a system with properly potted connections and a protected control box will reach its rated life far more reliably than one installed with exposed junctions.
Can permanent outdoor lights stay up through winter?
Yes, when the system is rated for it. Look for fixtures tested across a wide temperature range, sealed connectors, and a control box mounted out of snow and ice buildup. Snow sitting on the strips is not a problem for a sealed LED channel, but freeze-thaw cycles stress any gap where water can enter. Proper mounting clips that allow slight movement help the track survive expanding ice without cracking.
How can you protect permanent outdoor lights from water damage?
Seal every connection with dielectric grease and heat-shrink or waterproof connectors, mount the control box under an eave or inside a weather-rated enclosure, and use a GFCI-protected outdoor outlet. Route cables so they slope away from the connection points so water runs off instead of pooling. After major storms, inspect for loose clips, cracked lenses, or water in the control box and address issues before the next freeze.
